Hailey Bieber's Makeup Artist Just Schooled Me on How to Get Fresh, Glowing Skin
When it comes to celebrity makeup artists, Mary Phillips is basically considered royalty. She's responsible for some of the most iconic makeup looks of the past few years. I’m talking Jennifer Lopez’s bronzed and glowing Venice Film Festival look (yes, the one when she made her 2021 red carpet debut with Ben Affleck), Kendall Jenner’s most beautiful Met Gala moments and just about every Hailey Bieber makeup look I’ve ever saved on Instagram.
As someone who doesn’t find makeup application easy but also champions a natural-looking, fresh-faced look, I have been somewhat obsessed with Hailey Bieber’s makeup—it exudes health and radiance without ever appearing too contrived. And as her long-time makeup artist, if there is one person in this industry who knows the answer to the age-old beauty question of how to achieve naturally flawless-looking skin, it’s Phillips.

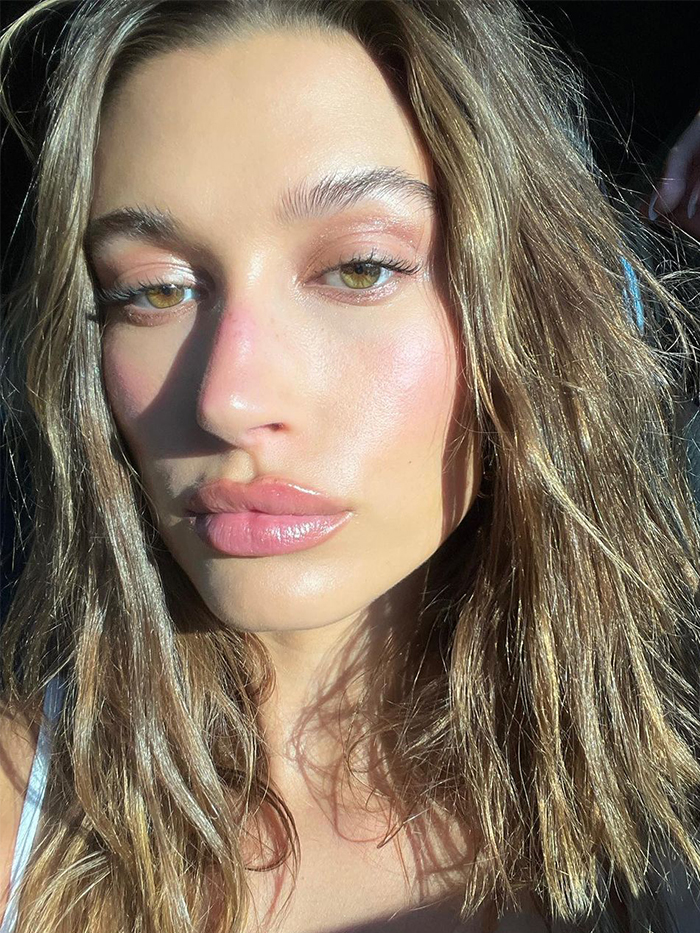
Photo:
@HAILEYBIEBERSo when Hourglass gave me the opportunity to pick Phillips’s brain on all things makeup and skin, I knew that it was my one shot to get to the bottom of what really goes into her trademark fresh, glowing looks. I realised some time ago that the thing that sets Phillips apart from other celebrity makeup artists in L.A. is her ability to work with skin rather than against it, and I wanted to know her tips.
Unsurprisingly, I’ve been overthinking it for far too long. It turns out the secret lies in six very simple steps.
1. Prep the Skin

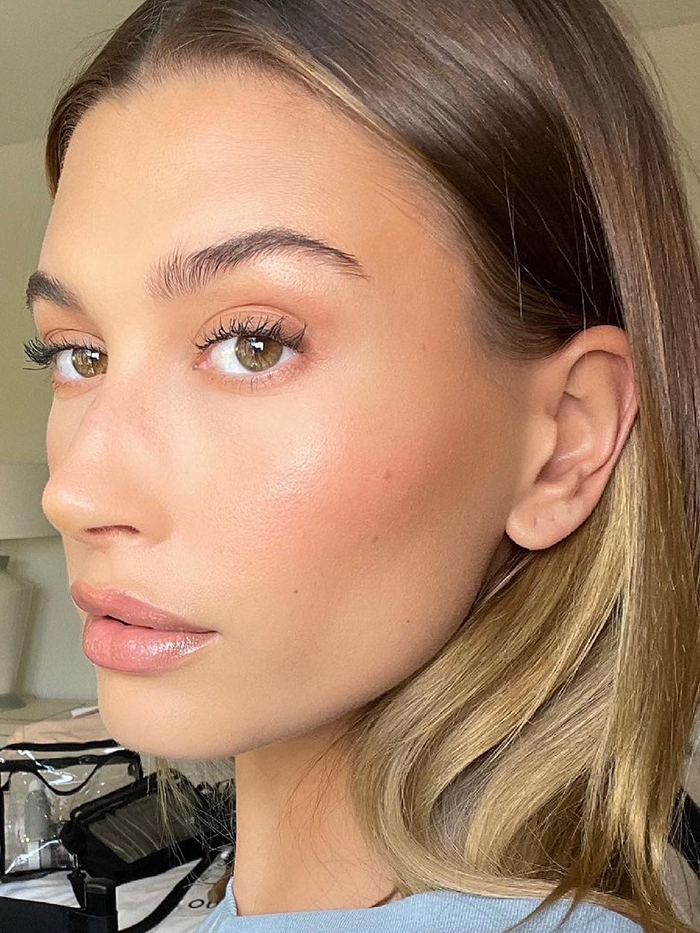
Photo:
@MARYPHILLIPSThis is a makeup step that I often overlook (and almost always skip when I’m short on time). Phillips insists that prepping and priming the skin is key to a fresh, natural base. “A natural-looking glow always starts with prepped skin. I highly recommend using a skin tool, such as a gua sha or jade roller, after moisturiser. It helps with product penetration, increases blood flow and decreases puffiness before starting your makeup application,” she says. For an extra complexion-smoothing boost, Phillips also recommends using a tinted SPF formula in the morning: “It helps protect skin from UV rays and provides sheer coverage simultaneously.”
And the skin prep doesn’t stop there. The key to an even complexion, Phillips says, is an oil-absorbing primer—but it’s no good just slapping it on all over. “Using a primer before foundation helps with visible pores, and I love the Hourglass Vanish Airbrush Primer for its skin-perfecting, blurring effect. Apply your oil-absorbing primer to the T-zone, leaving the skin on the high points of the face super hydrated. It’s the best way to tackle shine without sacrificing glow.”
Containing micro-spherical powders, this primer helps to mattify skin and blur pores without sacrificing natural-looking glow.
Phillips recommends using a jade roller after moisturising to help the product penetrate and help take down any puffiness.
This glow-boosting SPF gives skin a subtle blur while protecting it from the sun's harmful rays.
2. Apply a Light Layer of Foundation
When it comes to foundation application, Phillips warns that going in too heavy can jeopardise your overall finish. “Over-application doesn’t look natural. Less is more. Start with a light layer of foundation so you can still see what areas need extra coverage with concealer,” she says.
Look for creamy foundations with light-to-medium coverage that melt into the skin rather than sit on top of it. Opting for a formula that's lightweight and delivers a subtle radiance (instead of a cakey, matte finish) will help ensure your natural glow shines through.
This super-creamy foundation provides impressive coverage and delivers a hefty dose of hydration to keep your makeup looking fresh all day.
If you want to keep your foundation application minimal, simply scribble this creamy stick into areas you think you need it most and let the rest of your skin do it's natural, glowy thing.
Containing a bunch of skin-loving ingredients (including plumping hyaluronic acid and a radiance-boosting rose complex), this foundation packs a punch when it comes to coverage but still leaves skin looking like skin.
3. Apply Concealer Only Where You Need It

Photo:
@MARYPHILLIPSMary Phillips is also makeup artist to Priyanka Chopra Jonas.
While some makeup artists recommend applying concealer before your foundation to get a full-coverage, long-lasting finish, when it comes to Phillips’s iconic fresh-faced looks, any step that risks over-application should be avoided at all costs. “I prefer applying concealer after foundation to ensure I am focusing only on the areas that need the extra coverage,” she reveals. “I apply it with a brush and blend it out with a sponge, setting with a light dusting of powder.”
When it comes to areas of concern like dark circles, she advises using a colour corrector rather than packing on concealer. “Using a colour corrector under a full-coverage concealer will help to minimise the appearance of dark circles and brighten the under-eyes at the same time,” Phillips reveals.
Similarly, when it comes to spots, it’s wise to keep things minimal. She advises, “I use a very small, flat brush and apply concealer directly to the area of concern. Once the concealer is dry, I lightly dust powder over it to set.”
This teeny-tiny brush helps avoid over-application of concealer and makes for the perfect spot-concealing tool.
This creamy concealer has a natural-looking finish that doesn't flatten your makeup.
Avoid having to slather on under-eye concealer by using this colour corrector before you apply. The apricot hue counteracts the purple tone of dark circles, meaning you only need to apply a fraction of the concealer you typically would.
4. Powder in the Right Places

Photo:
@MARYPHILLIPSYou will have likely already noticed that Phillips is a fan of setting powders, and this isn’t something you see too often amongst makeup artists who are keen to get a glowing look. The secret, she says, is in knowing where to apply it. “Because I prefer a fresh-skin look that glows, I don’t like to use too much powder. It’s about balance; knowing where to powder and where to let the skin shine through,” she says.
According to Phillips, areas to apply powder include the under-eye area to reduce concealer creasing and fading as well as the T-zone to take down shine.
This cult powder is a makeup-artist favourite thanks to its shine-reducing powers that don’t compromise glow.
Formulated with hyaluronic acid, this powder is the perfect product for people who don’t like powder. The lilac shade helps brighten up the skin without making it feel cakey.
This powder is famed for its ability to help diminish the appearance of under-eye circles.
5. Apply Bronzer and Blusher

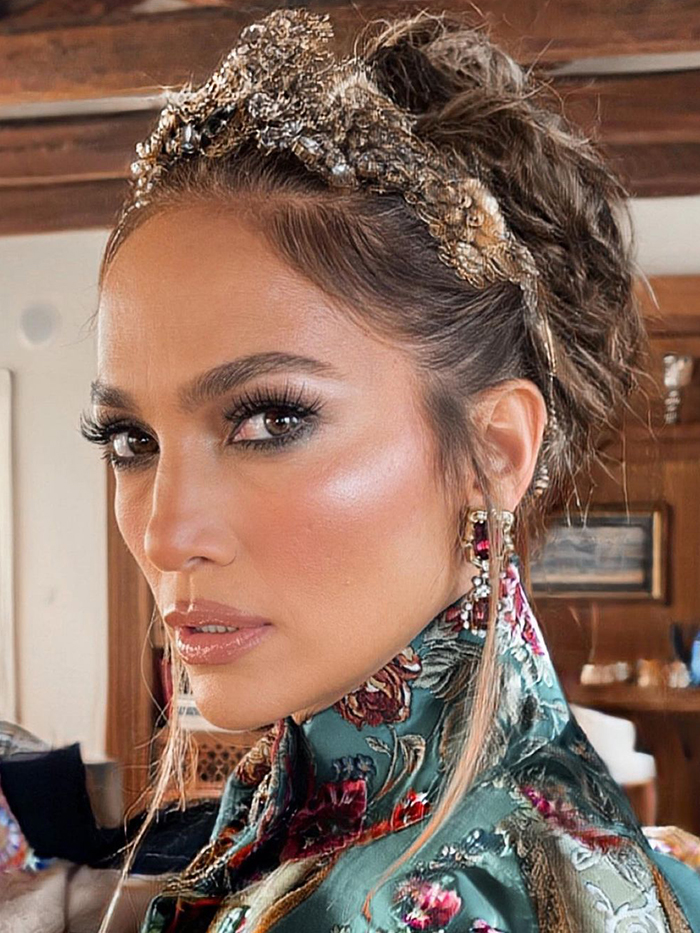
Photo:
@MARYPHILLIPSMary Phillips is the makeup artist behind some of J.Lo’s most iconic beauty looks.
After you’ve nailed your base, it’s time to go in with some colour. “Once you have lightly set skin with powder, add bronzer and blush,” says Phillips. Cream formulas, she says, can be great options. “A cream blush is always great because you can apply it with your fingertips to add colour to cheeks, eyes and lips!” On top of this, cream formulas also tend to be more foolproof when it comes to blending, melting into the base you already have rather than sitting on top of it.
This creamy stick from Byredo can be used on cheeks and lids for a quick, five-minute face.
Another multi-use product, this blush is adored by beauty editors thanks to its dew-boosting properties.
It’s all too easy to go overboard on bronzer, but this creamy formula from Fenty Beauty blends like a dream.
6. Add Glow to High Points Only

Photo:
@MARYPHILLIPSThere’s no doubt that Phillips’s beauty looks rely on highlighter to amplify radiance, but the way in which it’s applied leaves you questioning whether there’s any product on the skin at all. Her top tip is to be very careful with where you apply your highlighter. “Be sure to add shine to the skin on the high points of the face, such as the tops of the cheekbones, bridge of the nose and brow bone,” she says.
However, if visible pores are an area of concern for you, think carefully about where you add other glow-boosting products. “Products that aim to boost glow can make skin texture more pronounced, so I wouldn’t suggest using them in areas you are trying to minimise and blur,” she warns.
This powder is magic. Lightly dust it over the tops of cheekbones for the most beautifully blurring effect.
This highlight is super easy to use thanks to its stick format, and the bronzy shade is the perfect way to created a faux sun-kissed glow in the colder months.
- Explore More:
- beauty
- Makeup
- makeup tips


